This article is intended for ski instructors who work with children from 7 to 12 years old. Most instructors who teach children face one major problem, how to get children to stop riding in the wedge and start to parallel.
It can be more challenging to get children to parallel due to the fact there are such a wide variety of reasons for them to stay in the wedge. Most children are naturally more comfortable in the wedge because they feel safe and can slow down and stop. In some cases, instructors might even inadvertently encourage the wedge because they want to move out of the beginner area. In addition, families on vacation usually don’t want to spend their entire holiday on the children’s slopes. As soon as they feel their child is relatively confident in the wedge, parents often take them to the blue and black slopes prematurely.
So, back to the question, what can instructors do to move children out of the wedge? The technique is well known. The first thing to do is adjust the athletic ski stance. As a rule, all children riding in the wedge sit in the back stance.
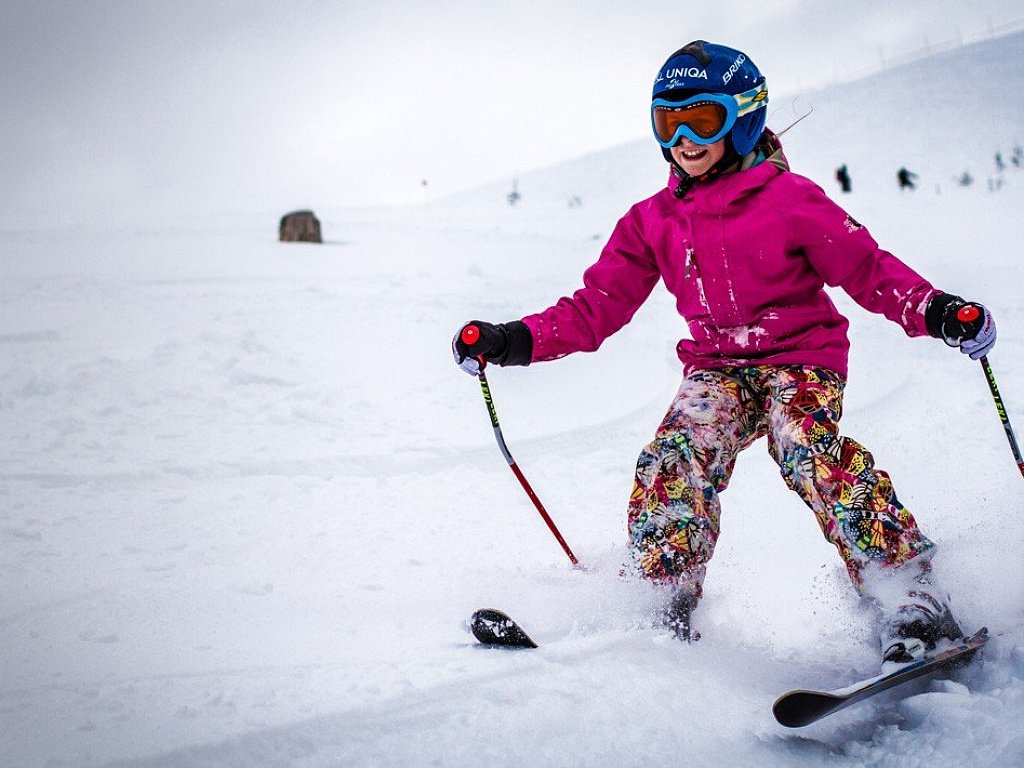
This is normal because the child has two conflicting feelings. The first is excitement from the speed of going downhill. The second is a sense of fear and self-preservation. Since the position of the wedge feels very supportive, children grab it like a drowning man for a straw which makes it extremely difficult to get them out of this position.
The most important thing is to choose the right slope. Preferably a gentle long and wide slope where a child can feel excited and have fun, but also feel comfortable and not fearful. Start by going down the slope several times in the wedge but help them learn to adjust their speed. They can do this very simply by varying the distance between their knees. If the knees are wide apart, the angle of the edge is higher, and the speed is slower. If the knees are closer together, the angle is flatter, and the speed is faster. This is something children learn almost intuitively.
The task of the instructor is to get the upper body stable and facing down the slope with the legs and feet moving underneath.
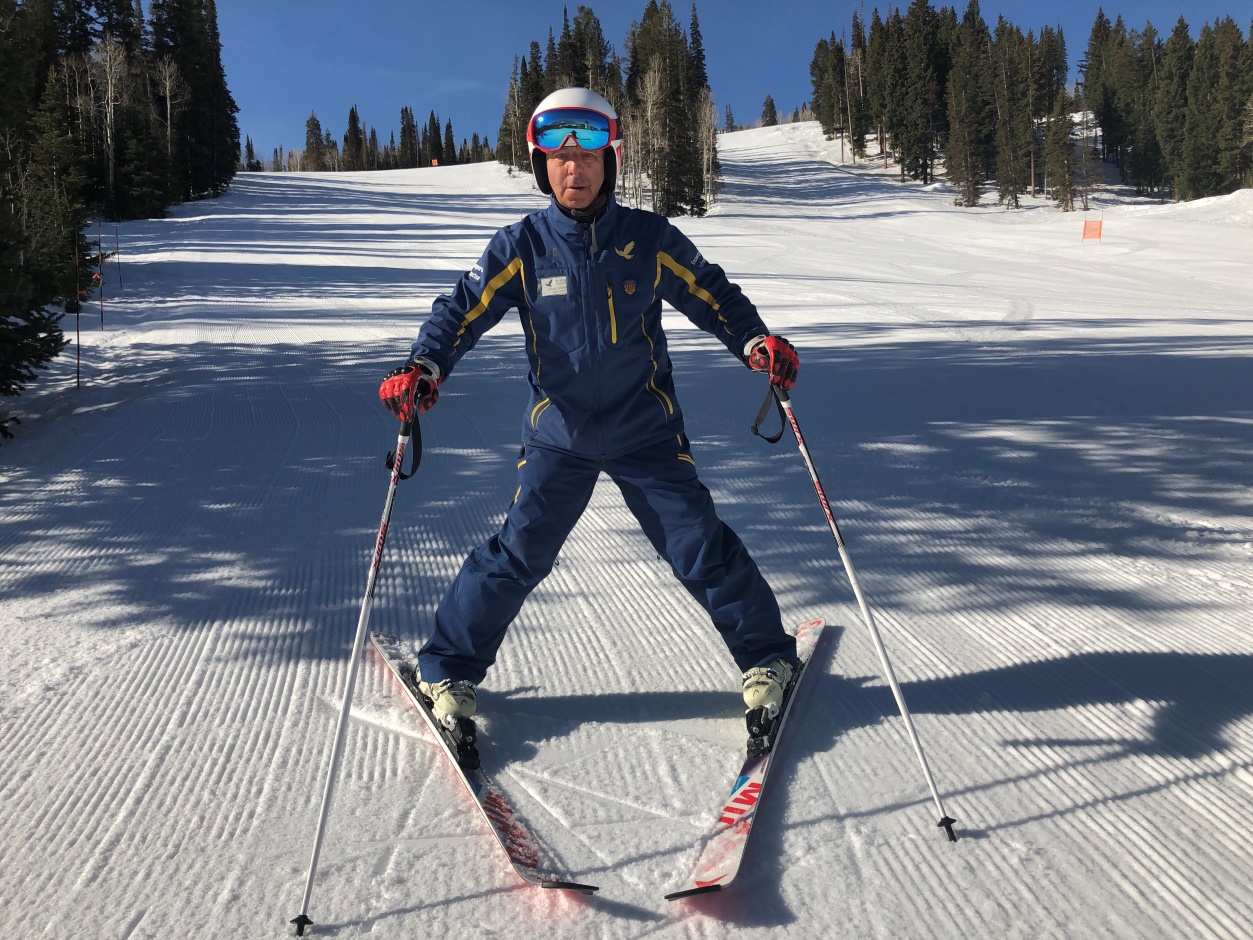
As soon as they learn this, we move on to turning. What should I do to make the ski turn? You need to make two movements: load the ski and put it on the edge. To load the ski, you need to bend the ankle and knee. The ankle rests against the tongue of the boot, the ski bends as it experiences resistance from the snow.
When the ankle is tilted, the inner side should feel resistance from the side of the boot wall. Turn right – on the left foot, turn left – on the right foot. This pressure is felt in the area of the arch of the foot in every turn!
In our example with children, it is not necessary to tilt the ankle, since both ankles are already tilted in the stop position. It is only about bending the knee and ankle.
Try to choose a wide gentle slope on which children will feel confident and ready for experiments. We start the movement in the stop position, gain speed and gradually increase the pressure on the right leg, for example, by bending the ankle and knee. The ski bends as it experiences resistance from the snow and turns left.
The more pressure on the right (lower) ski the less pressure on the left (upper) ski and the easier it is to put the skis in parallel. Explain that your legs work like a bicycle and your hands are on the handlebars. This means that there must be a distance between the elbow and the skier’s body.
The skier slides in a traverse of 5-7 meters controlling the speed by pressure on the lower leg. By straightening the left leg and bending the right, we transfer the pressure from the lower ski to the upper one, feeling the pressure on the tongue of the boot on the left leg and resistance on the ankle from the side of the boot wall. Thus, there is a turn to the right.
When children master the turn from the stop to the parallel slide, the next step is a smooth increase in speed on the same slope.
Then practice, practice, practice! Try to ensure that the legs work like riding a bicycle, flexion-extension and the hands should always be in front.
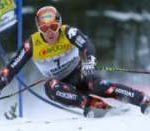
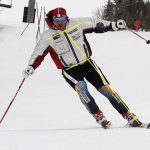
The most common mistakes are not keeping the upper body stable and sitting back. At the exit of the turn, children and adults often turn their upper body and arms up the slope and sit back. They also either lower their hands down or press them to their chest. In the following photos, this is easy to see.


This leads to a loss of balance on the lower ski and more frequent falls. This is a very common error. New skiers may need a constant reminder that their upper body stays facing downhill while their legs move in the direction of the next turn. Pay special attention that the turn starts with the movement of the ankles. The simplest exercise to reinforce this is to hold the ski poles straight in front of you, the same way as you holding the handlebar of your bike
When the turns on the gentlest slope are mastered, increase the speed. If the student is comfortable at the higher speed and still turning correctly, then and only then, go to the steeper slopes. If at any time the student feels uncomfortable or starts to make the same mistakes, go back to a slower speed and easier slope.
Good luck.


